Many people like to spend their time on Facebook to have fun, relax, chat with friends and snoop or just to occupy a few dull moments spent in a waiting room.
The goal of a company or a freelancer who decides to use Facebook in a professional way is to try to make the most of this powerful channel trying to “capture” all the people who use the Social and who are interested in your product / service with the primary intent of converting them into fans.
Once a potential customer has been converted into a fan, it will be necessary to try to establish a well-planned type of communication with the latter that will have the aim of increasing the knowledge of the fan regarding both products and services and the corporate brand, establishing a true and own relationship of dialogue that will guide him until the final purchase and will make him loyal for future choices.
Let’s not forget that many of the posts we publish on our Fan Page will most likely be viewed by our fan to whom we will also be able to propose ourselves by carrying out Facebook campaigns targeted exclusively to already acquired Fans.
Therefore, in order to make the most of the current king of Social Networks and optimize our communication, it is essential that all the services we use point to our Fan Page (and vice versa of course for the most important channels).
In fact, we do not know from which channel our potential customer will learn about our products / services; could pass on our site, read our email or our newsletter or find one of our flyers in the mailbox and, if at that moment the link to our Facebook page is highlighted, he will be encouraged to visit it and finally, if we are lucky, to click on the “Like” link to follow us on his favorite channel.
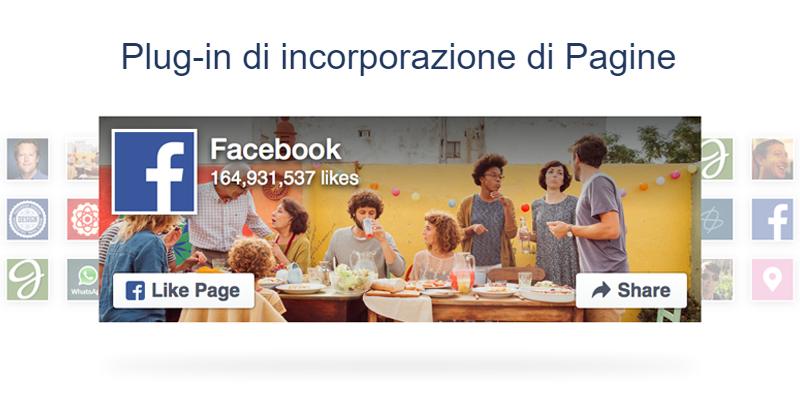
Regarding the website, Facebook provides developers with a tool that can integrate its application into our website in various ways.
At the following link you can find the Embedding plugin for Facebook Pages.
Its use is very simple and does not require great technical skills; however, if you need help or a little advice you can contact me by calling 338 8686355 or send me an email by filling out the form you find on the page Contacts .
The following figure shows all the fields you need to fill in to get the code to embed on your website.
The first field is essential as it allows you to connect the plug-in to your Facebook page while the following fields concern the aspect that the latter must have.

And finally, here are some examples of possibilities that are provided for the use of the Plug-in.
Tab
By default the timeline attribute is inserted that allows you to view the latest posts published on the page.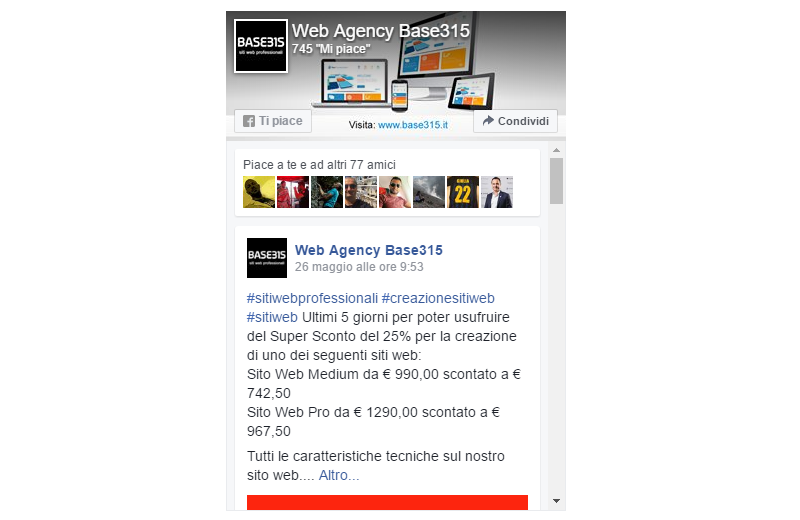 The attributes available for the Tab field are timeline, events and messages and can also be used together, as long as they are separated by a comma, to combine them as you wish.
If you don’t want to see them just leave the field blank and the timeline will be deleted too.
The attributes available for the Tab field are timeline, events and messages and can also be used together, as long as they are separated by a comma, to combine them as you wish.
If you don’t want to see them just leave the field blank and the timeline will be deleted too.
Width
If you use a responsive structure, I advise you not to enter a width parameter so that the Plug-in automatically adapts to the site structure. Otherwise you can still set a width in pixels that can vary from a minimum of 180px to a maximum of 500px; the default is 340px. If you decide to opt for this second possibility, remove the check mark under “Fit to the width of the plug-in container”.Height
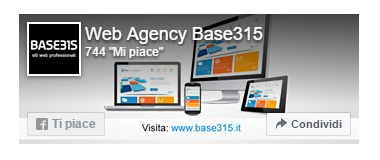
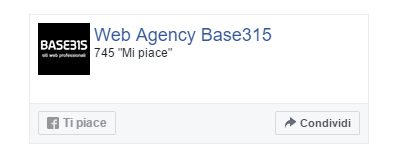
In some cases it may be necessary to set a precise height of our Plug-in; for example if we have to align the latter to the height of some adjacent elements side by side on a horizontal line. In these cases it is possible to set a pixel value from a minimum of 70px to a maximum of 500px; 500px is set by default.By checking this item you get a reduced effect of the main part where the name of the page, the logo, the cover, the number of likes, the “Like” button and the “Share” button appear.
The check is disabled by default.

This checked item allows you to delete the cover image used on our fanpage.
The check is disabled by default.
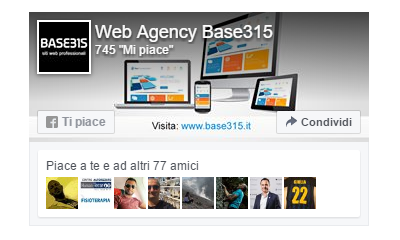
The last item “Show friend’s faces” allows you to view some of the profile pictures used by our fans.
When a Facebook page has many fans it might be useful to keep this item checked as by viewing the Plug-in on the website you could see some of our friends and acquaintances who are already fans of the page and induce us to follow it in turn.
The check is active by default.
All the above items can be combined according to your needs in order to obtain the most appropriate graphic effect for your site and your communication.
After assigning each value to each field and correctly defining the structure that the Plug-in must have as soon as it is installed on your website, click on the “Get the code” button.
Currently Facebook offers the following possibilities:
- JavaScript SDK
- IFrame
JavaScript SDK
This default option provides two blocks of code to be inserted into the page or pages where you want the Plug-in to appear.
The first block of code is to be copied and pasted possibly just after the tag while the second block is inserted in the point where you want the Plug-in to appear.
IFrame
This further option instead foresees a single block of code and must be inserted directly in the point where you want the Plug-in to appear.
At this point you just have to insert the code obtained in your web pages and give visitors the possibility to quickly access your Facebook page directly from your website!